1. Use A Third-Party SD Card Reader
To transfer the photos from your Camera’s SD card to the iPhone, you can purchase an adapter that can be connected to the iPhone. All you have to do is remove the SD card from the camera and insert it into the adapter. You can then connect the adapter to the iPhone’s Lightning port. The Photos app will launch and prompt you to import some or all the photos from the SD card to the iPhone.

2. Use Cloud Services
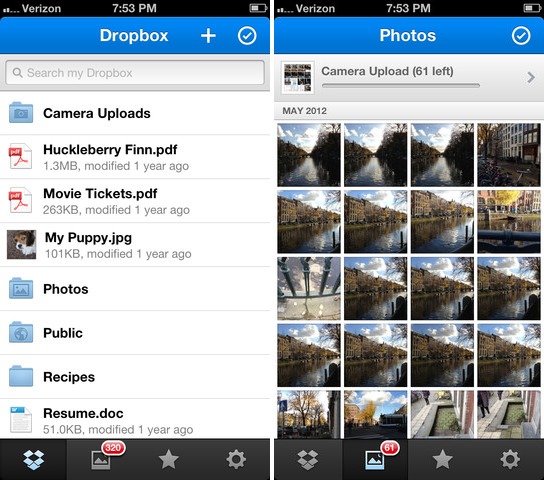
Another way to get photos from the camera to the iPhone is to use cloud service like Dropbox or Google Photos. Here’s how to do it:
Step 1: Get the photos on to Dropbox or Google Photos. You can do that by connecting the SD card from the camera to your computer and simply transferring the photos.
Step 2: Once the photos are on Dropbox or Google Photos, download the app to your iPhone and then simply transfer the photos from Dropbox or Google Photos to the Photos App.
3. Use iTunes
Using iTunes to sync photos from your computer to your iPhone is another way to transfer photos from the camera to the iPhone. Here’s how to do it:
Step 1: Begin by transferring the photos from your camera to your computer. You can do that by connecting the camera to the computer using USB cables. Click on it and then select the photos you’d like to transfer. You can simply drag them to a new folder on your computer or right-click on the selection and choose “Copy”.
Step 2: Now connect the iPhone to the computer and launch iTunes. Click on the iPhone when it appears in the upper right corner.
Step 3: Click “Photos” and then select “Sync Photos from Application or Folder”. Click “Apply” and wait for the iTunes to sync the photos to your device.

4. Use Apple Lightning to USB Camera Adapter
It is perhaps the easiest way to directly transfer photos from a camera to an iPhone. All you have to do is to use a USB cable to connect a USB camera adapter to the camera and then plug in the adapter to the Lightning port on your iPhone. Once connected, follow these simple steps to transfer the photos:
Step 1: The Photos App will automatically launch on your device and you should see the “Import” button.
Step 2: Tap on “Import” and choose either “Import All” or select individual photos to import.
Please note that this connection can also work to transfer photos from the iPhone to the camera.

5. Use A Wireless Adapter
You could also choose to use a wireless adapter such as the Nikon WU-1a Wireless Mobile adapter. All you have to do is connect the adapter to your camera and it will provide a Wi-Fi hotspot that the iPhone can connect to. You will also need to install the Nikon Wireless Mobile Utility App on your iPhone to facilitate the transfer of photos from the camera to the iPhone.
Note: If you don’t see the “Import” button appear on the iPhone after connecting the two devices, here’s what you should do:Sponsor ads:Windows Media Player Won’t Play AVI Troubleshooting
Sponsor ads:Calendar Apps for iPhone in 2019 – Manage Your Schedule
Sponsor ads:Clear Call Log on Android
Step 1: Ensure the digital camera is on and in the correct mode to export images.
Step 2: Disconnect the adapter, wait 30 seconds and reconnect it.
Step 3: Unplug the camera, wait 30 seconds and then reconnect it.
Step 4: Restart the iPhone and the camera.
Step 5: Test with a different camera. If the second camera shows an “Import” button the problem maybe your camera. Check its manual for further assistance.

Tip: How to Selectively Transfer iPhone Photos to Computer
As we’ve seen from the options above, transferring photos from the camera to the iPhone can be quite simple. But what if you need to transfer photos from your iPhone to the computer for safe-keeping or to simply make room for new images? Doing that without iTunes or iCloud can be difficult and even then, iTunes doesn’t allow you to select the photos to transfer.


No comments:
Post a Comment